You can schedule backups for Windows Server 2012, System Center 2012 SP1 - Data Protection Manager, and Windows Server 2012 Essentials.
To subscribe to the Azure Recovery Services you need to register for the preview. Just select => NEW=>DATA SERVICES => RECOVERY SERVICES and register for the preview. I have tested the Recovery Services with a fresh install of Server 2012 Standard Edition, running in Hyper-V.
A Backup Test
Create a new backup vault (that's where your data will be stored) and proceed:

After some time Azure will return, and indicate, that your backup vault was successfully created. You will get a notice, to install a certificate to your backup vault. I have done this immediately, but best is, to install it, when you download the backup agent. This certificate needs to be generated on the Sever and uploaded to the vault certificate store. If you generate the certificate on another machine, the upload will be denied.

Now download the backup agent and install it:


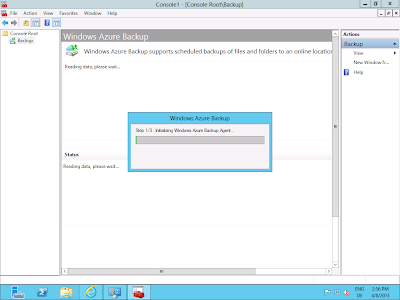
After you installed the Backup-Agent, run mmc => Windows Key + R, type "mmc" (this runs the server management console), and add the Windows Azure Backup Snap-In: Choose File=>Add/Remove Snap-in...=>Windows Azure Backup:

The Windows Azure Backup Snap-In will be installed now:
Add you proxy configuration settings:

Choose your preferred technique to setup a self-signed X509 Version 3 certificate. I prefer using makecert.exe. If you don't have makecert.exe on your machine, you can install the Windows 8 SDK on a Server 2012 (like I did). You can find the Windows 8 SDK binaries and makecert.exe after a successful install in C:\Program Files (x86)\Windows Kits\8.0\bin\X86. If you need to know, how to use makecert.exe to generate your certificate please visit this link: Upload Certificates to the Vault .


Now set your encryption settings. It is recommended (and not like seen in this screenshot), to export the encryption settings to a USB-stick or other external backup media:


After a successful registration, you can visit the Azure Portal, and check your registered server:

Everything is ready now to schedule a backup. Choose "Schedule Backup" from within the "Actions" pane on the right hand side:

Choose the items you want to backup:

Specify the backup time:

Specify the Retention Settings:

To test backup speed etc., choose "Backup Up Now" from the Actions-Pane and click on Back Up. The agent will start to back-up your selected files:


After the backup is finished, you can see your "backup-set" under "Protected Items" in your Recovery Servcies:

Wow! That was really easy. Without any further documentation I was able to setup my backup very quickly within a few minutes, without being a professional systems administrator. Now I can backup my important data to Azure. Well done Azure Team!
These types of information are not so easy to find on net so thank you so much for this sharing.
ReplyDeleteaffordable it support New Market
You are very welcome :)
ReplyDelete